Sheet music, survey maps, and folk art: the process of making a neon art piece.
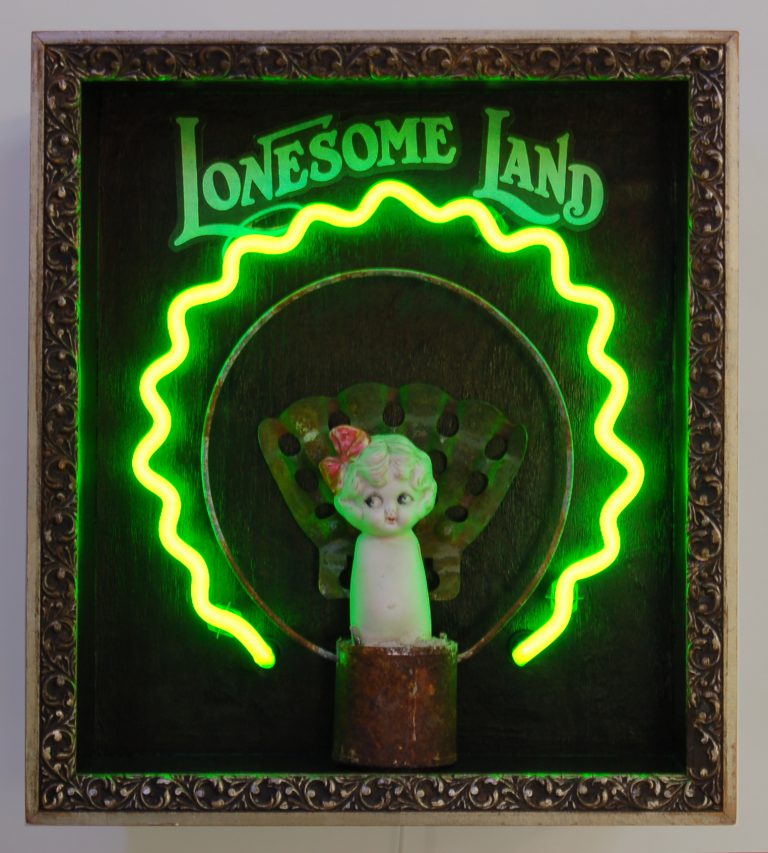
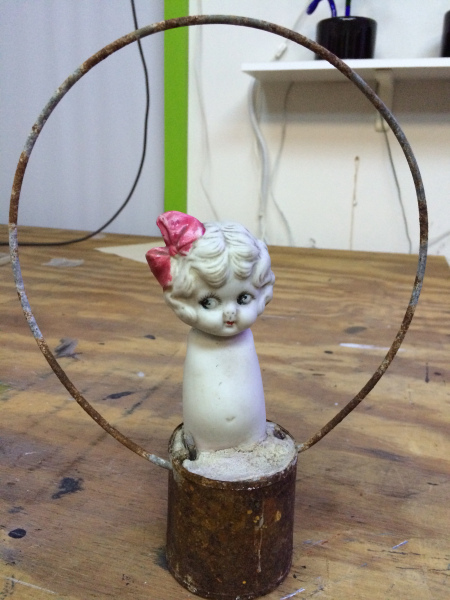
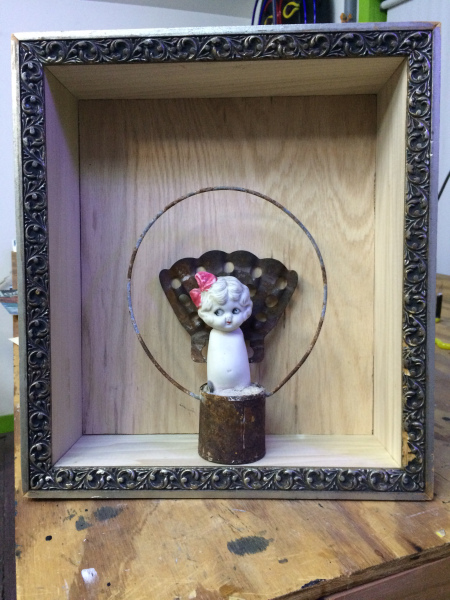
This piece started with this very funky and unusual object that was given to me by an old high school friend who I had recently reconnected with. It’s a bisque doll cemented into a tin can with a wire ring around it. I find it so interesting! I don’t have a photo from when I first got her, but she also had some faded, plaid fabric wrapped around her ring and base, which I removed. I have no idea how she came to be, but I imagine that maybe she was someone’s homemade craft.
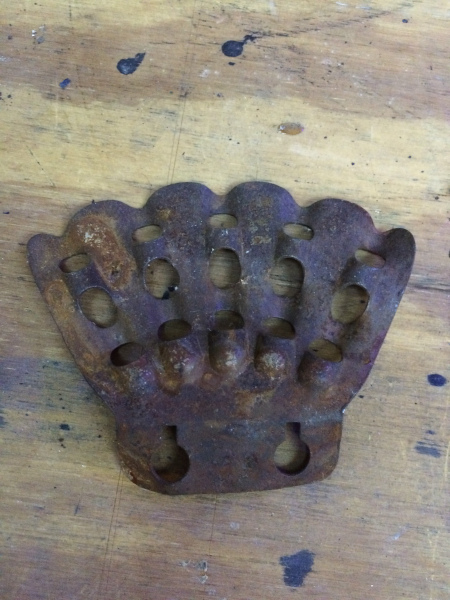
Although she was pretty cool just as she was, I thought this old rusty flag holder would be a good addition.
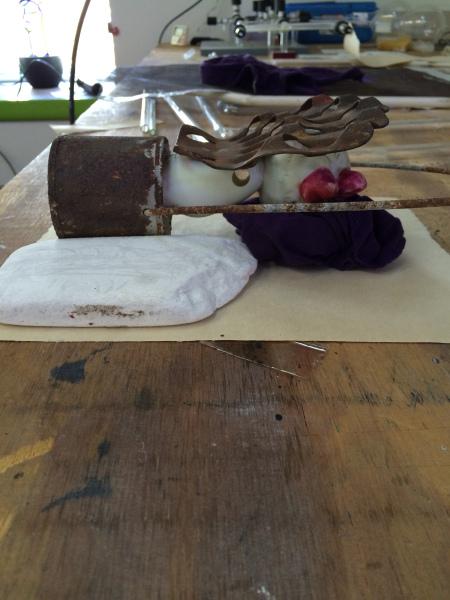
Here she is waiting for the glue to cure.
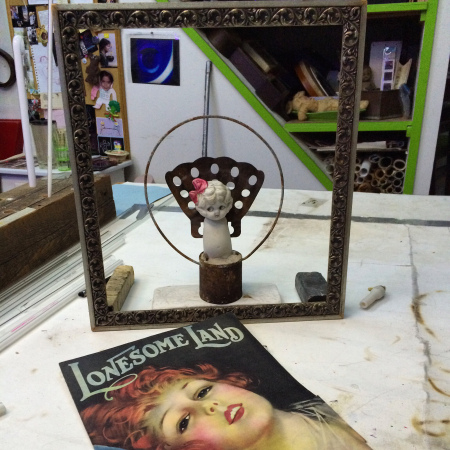
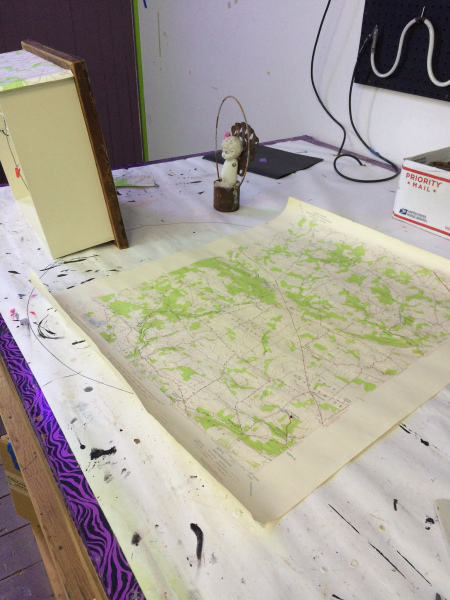
Something I love about putting my art pieces together is finding old frames to repurpose. This one is perfect! I also decided to incorporate the text from some vintage sheet music.
Now that I’ve decided on the objects, the next step is planning the neon.
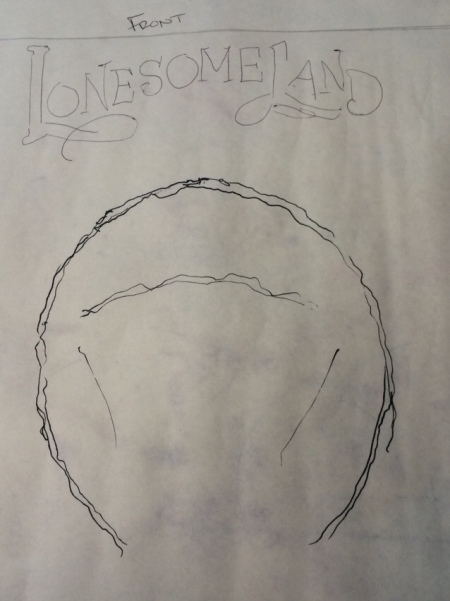
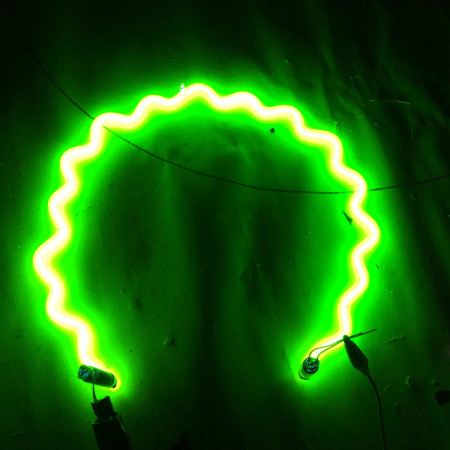
I don’t have a picture of the final pattern, but here is the glass cooling in the rack during the bending process. The color of the glass is noviol gold, and is uncoated, which means there is no phosphor powder on the inside of the tubing. Filled with argon gas and mercury, it glows a very cool light green, reminiscent of the color of uranium glass glowing under a blacklight.

And here it is on the burn in table, just after processing.
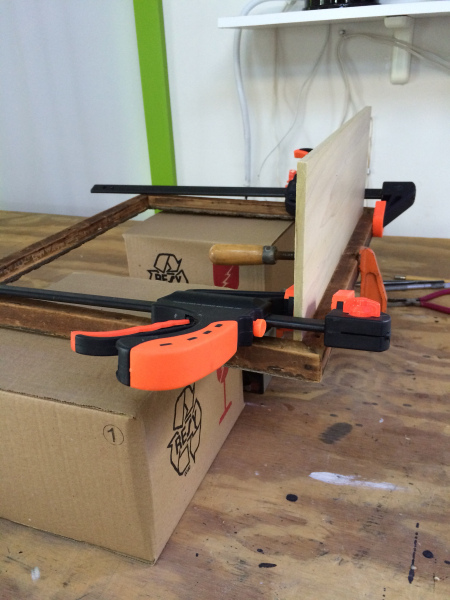
Once the neon was made, I needed to build the box around the frame to house everything.
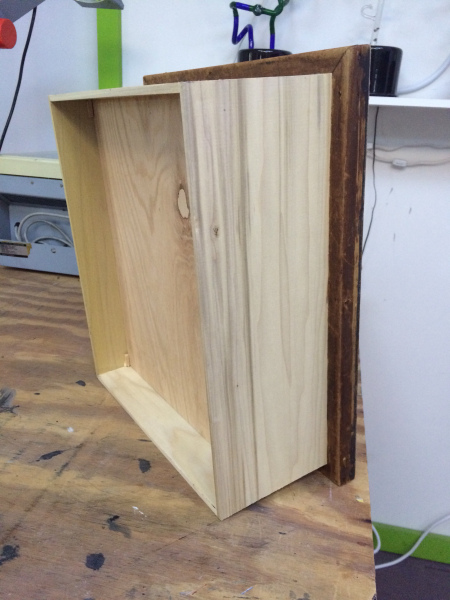
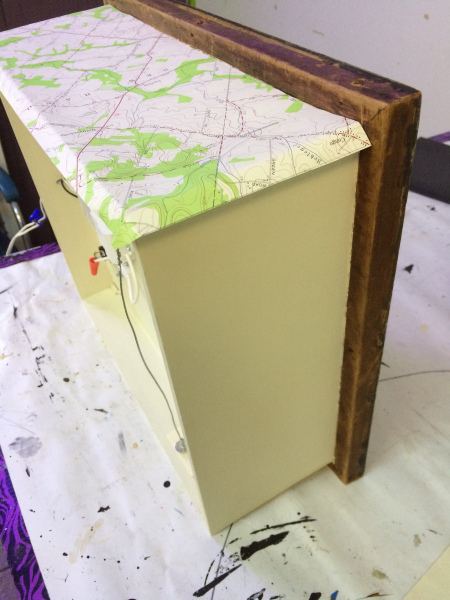
Once the box was together, I painted the inside black and covered the sides with pieces from a vintage survey map.
After the box was ready, I put it all together. I’m really happy with the way it turned out and think the different elements work really well together. Here it is complete. Lonesome Land.